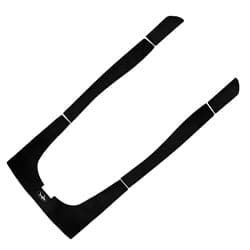
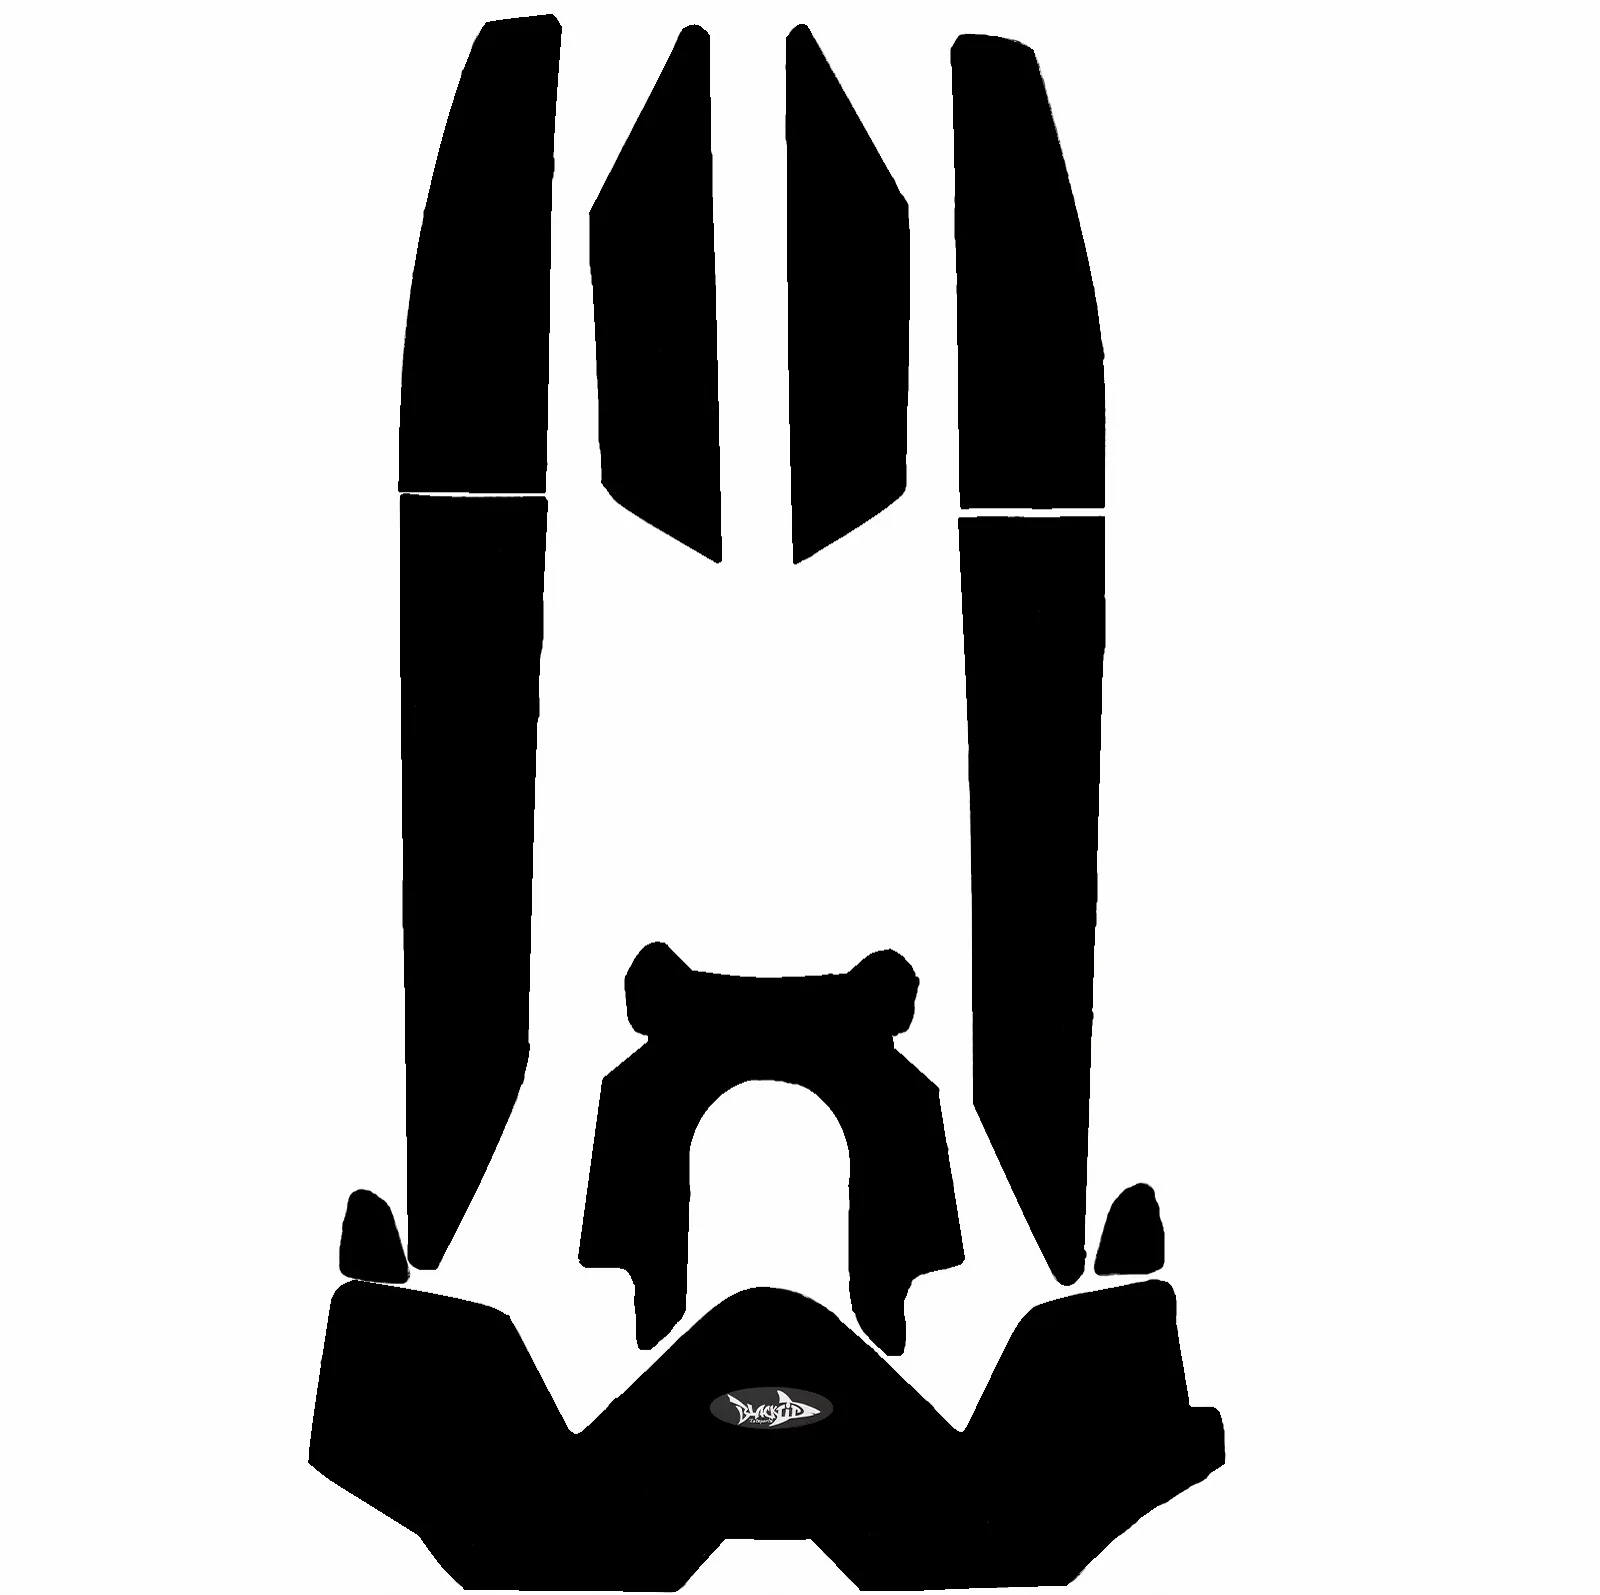
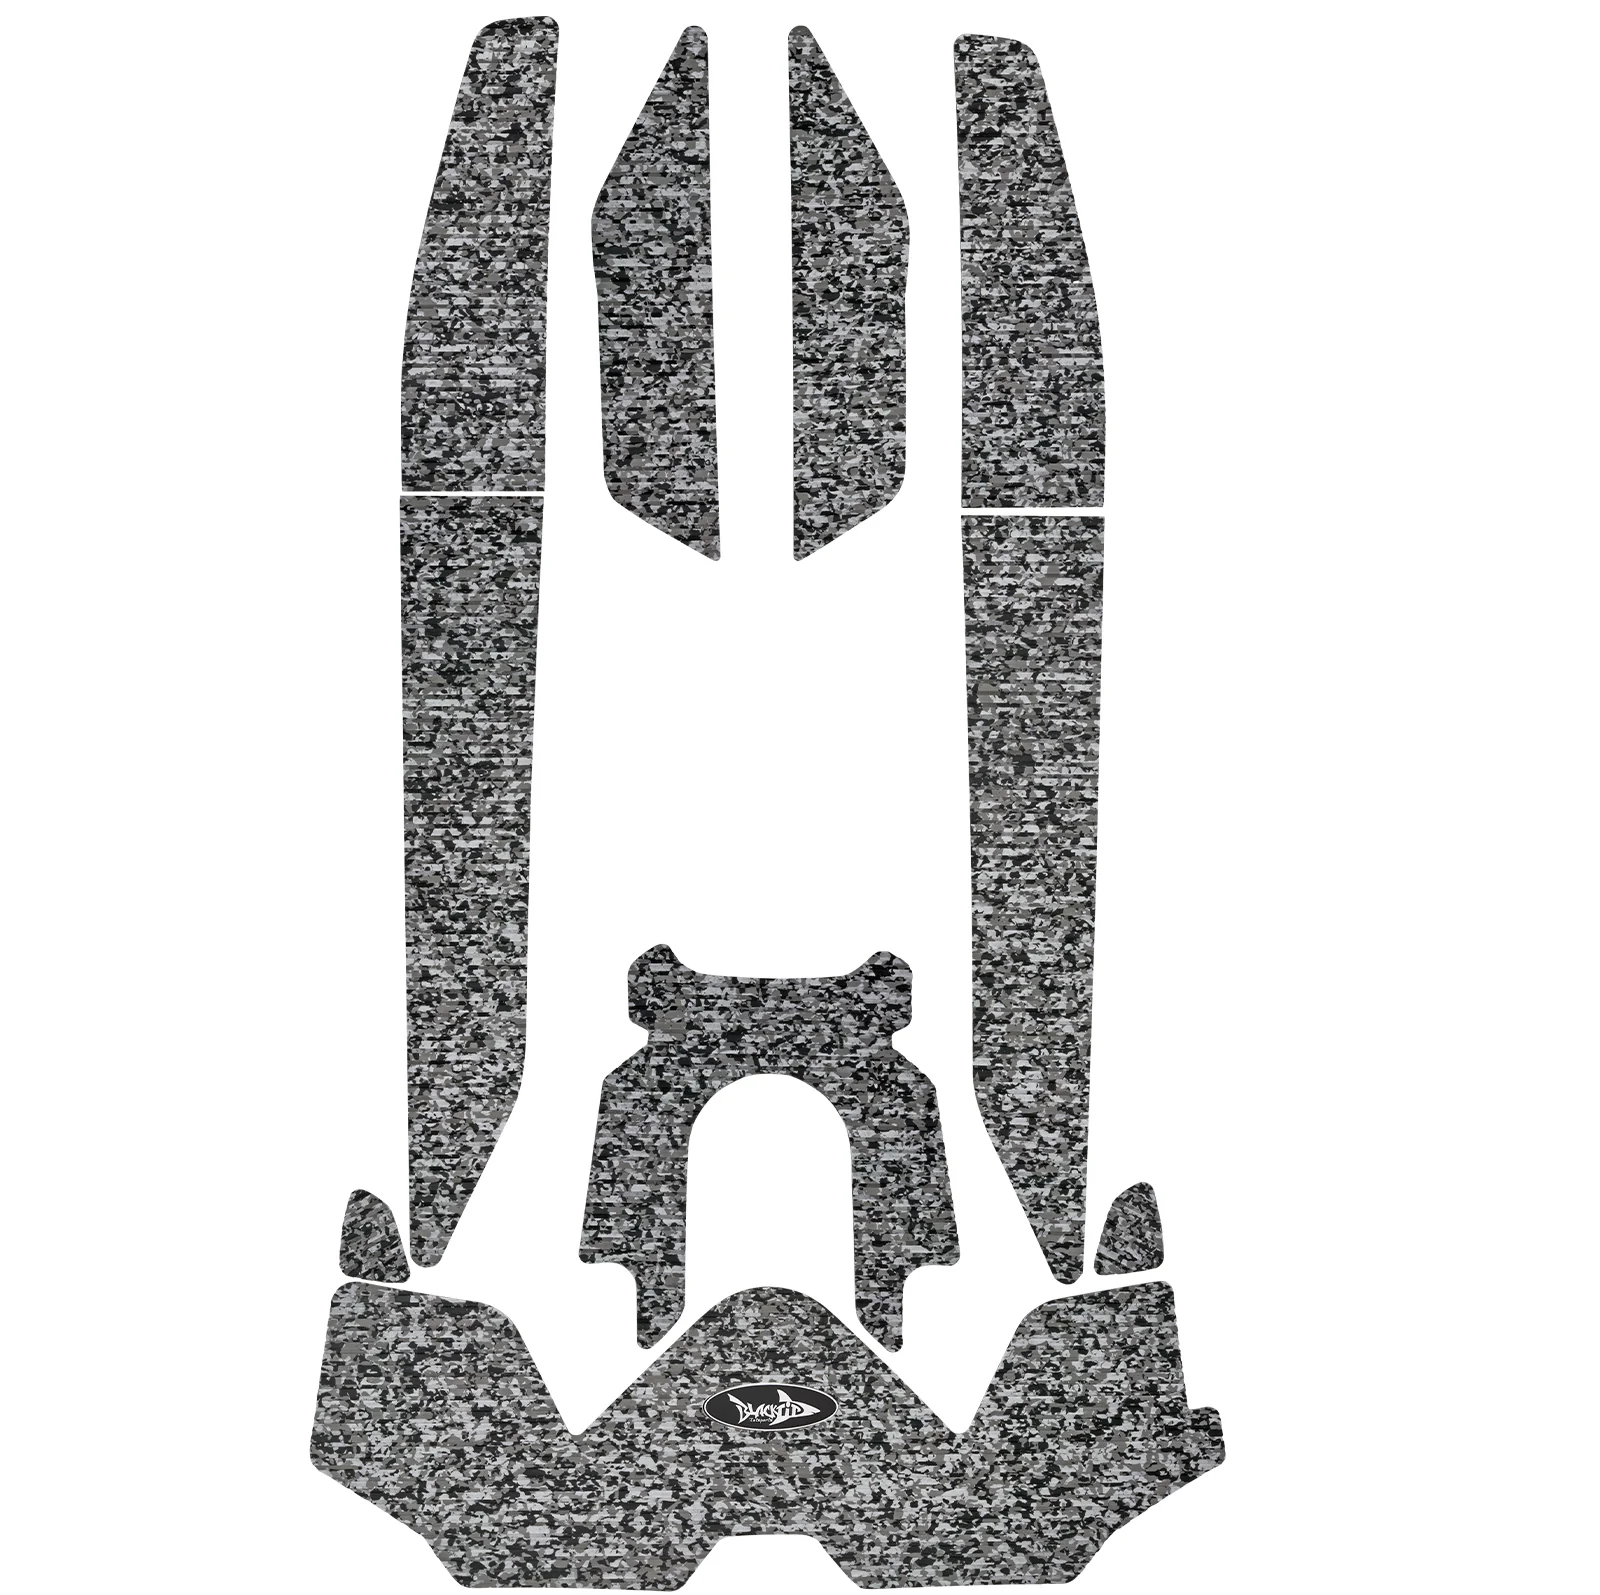
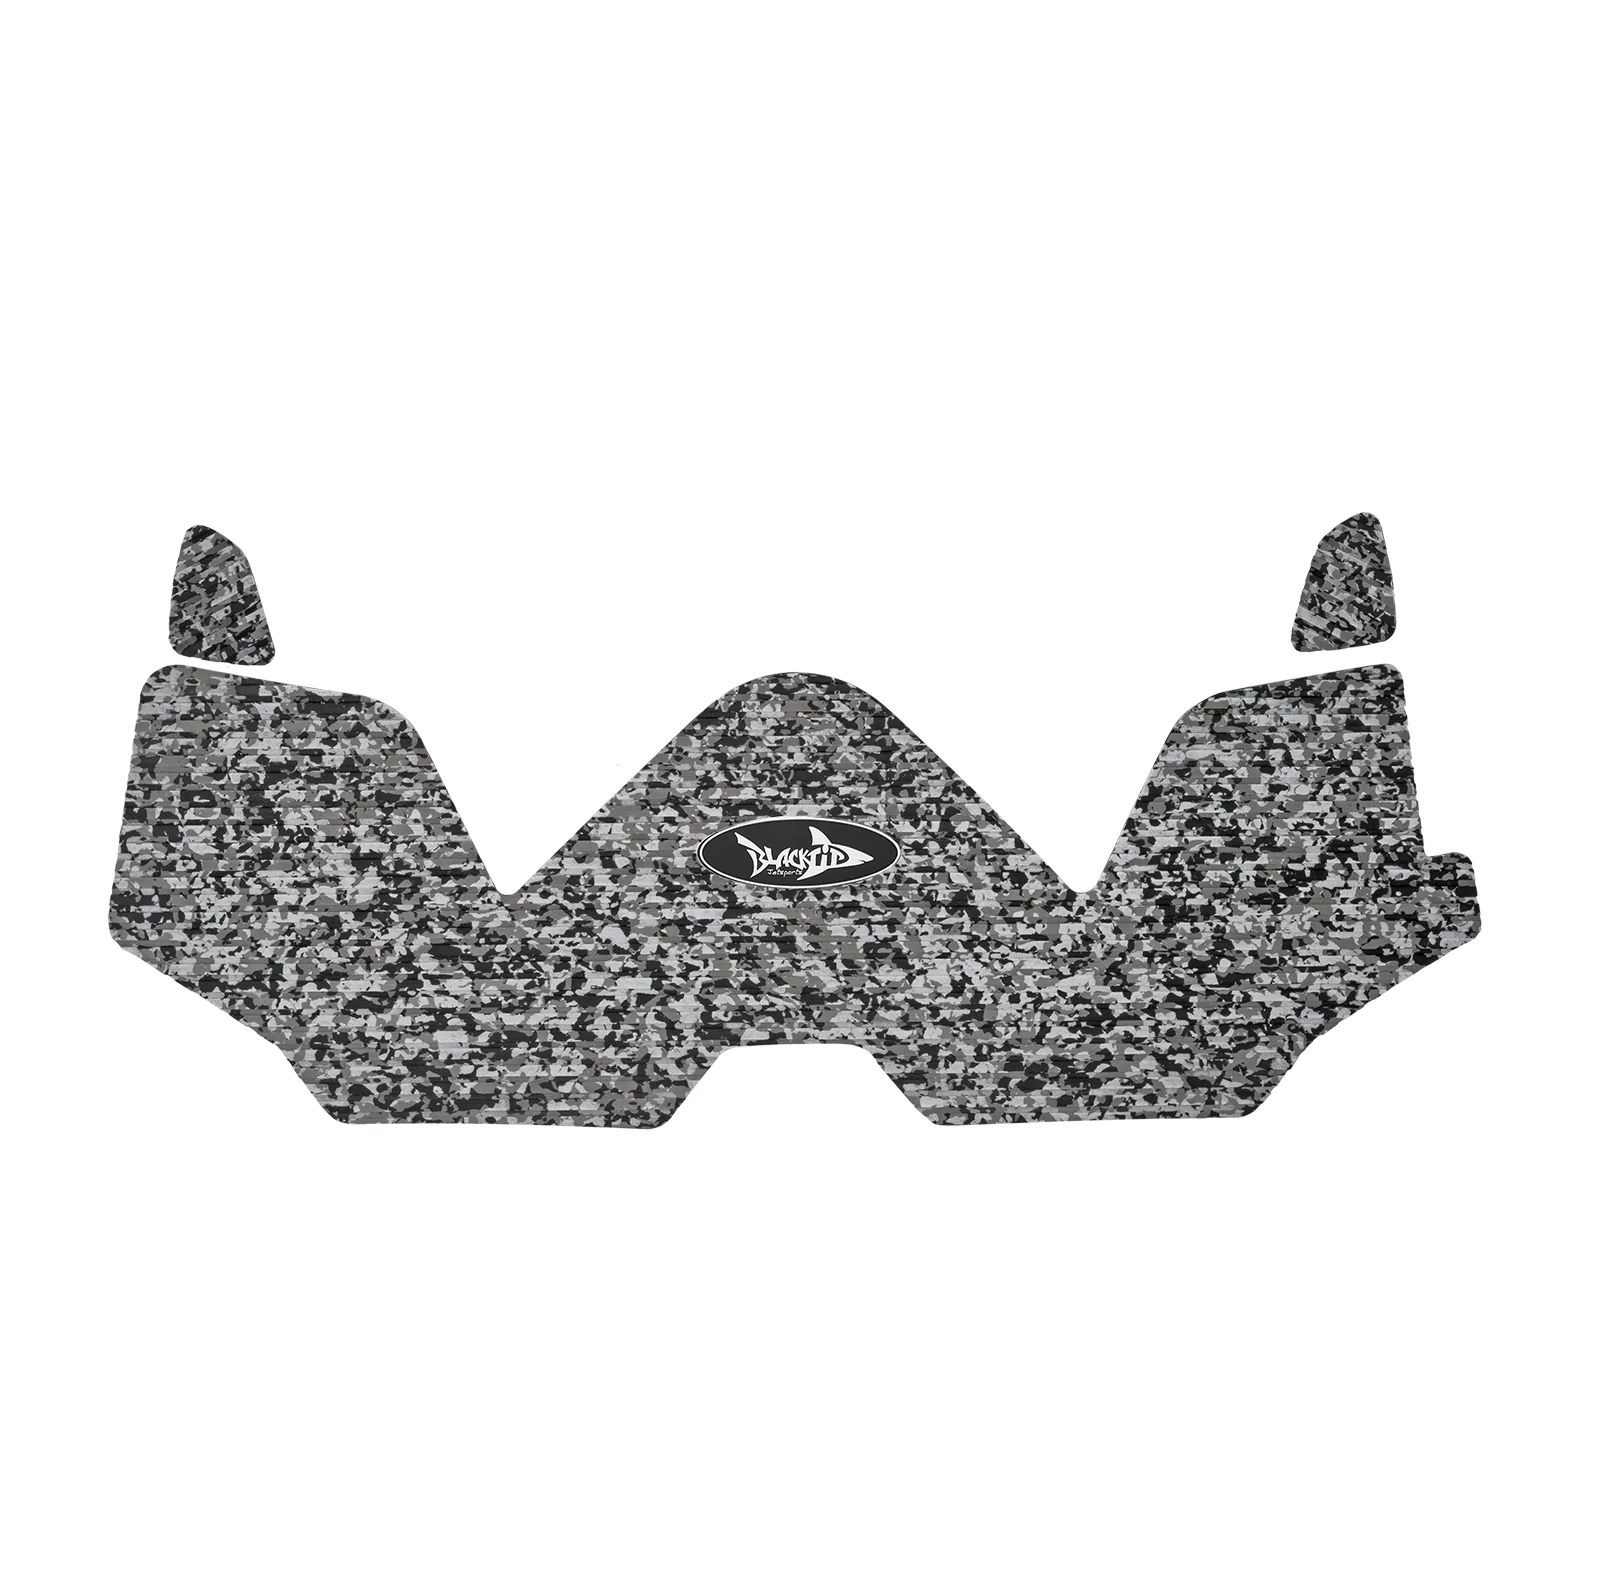
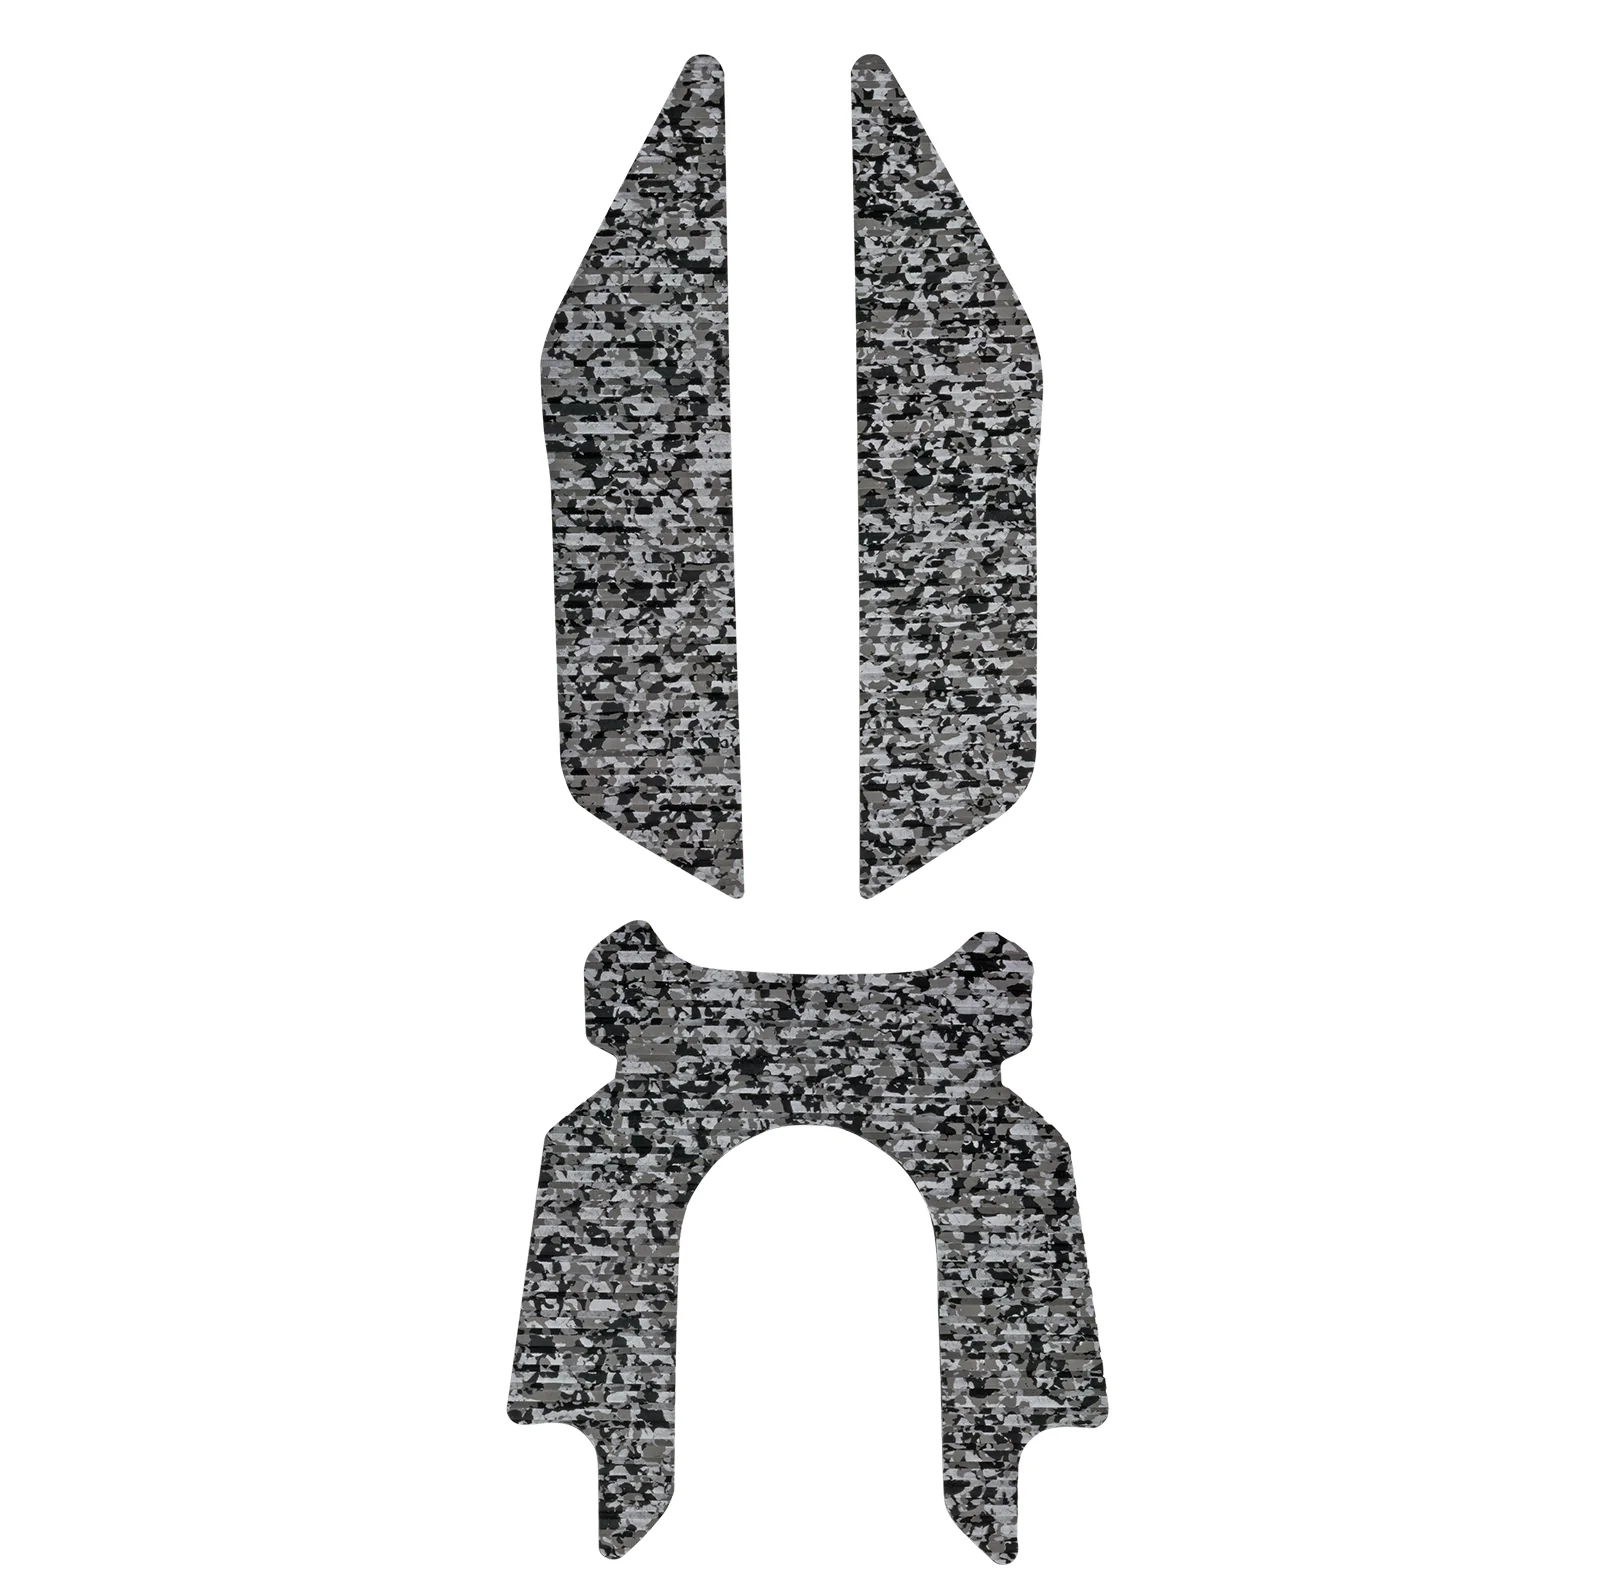
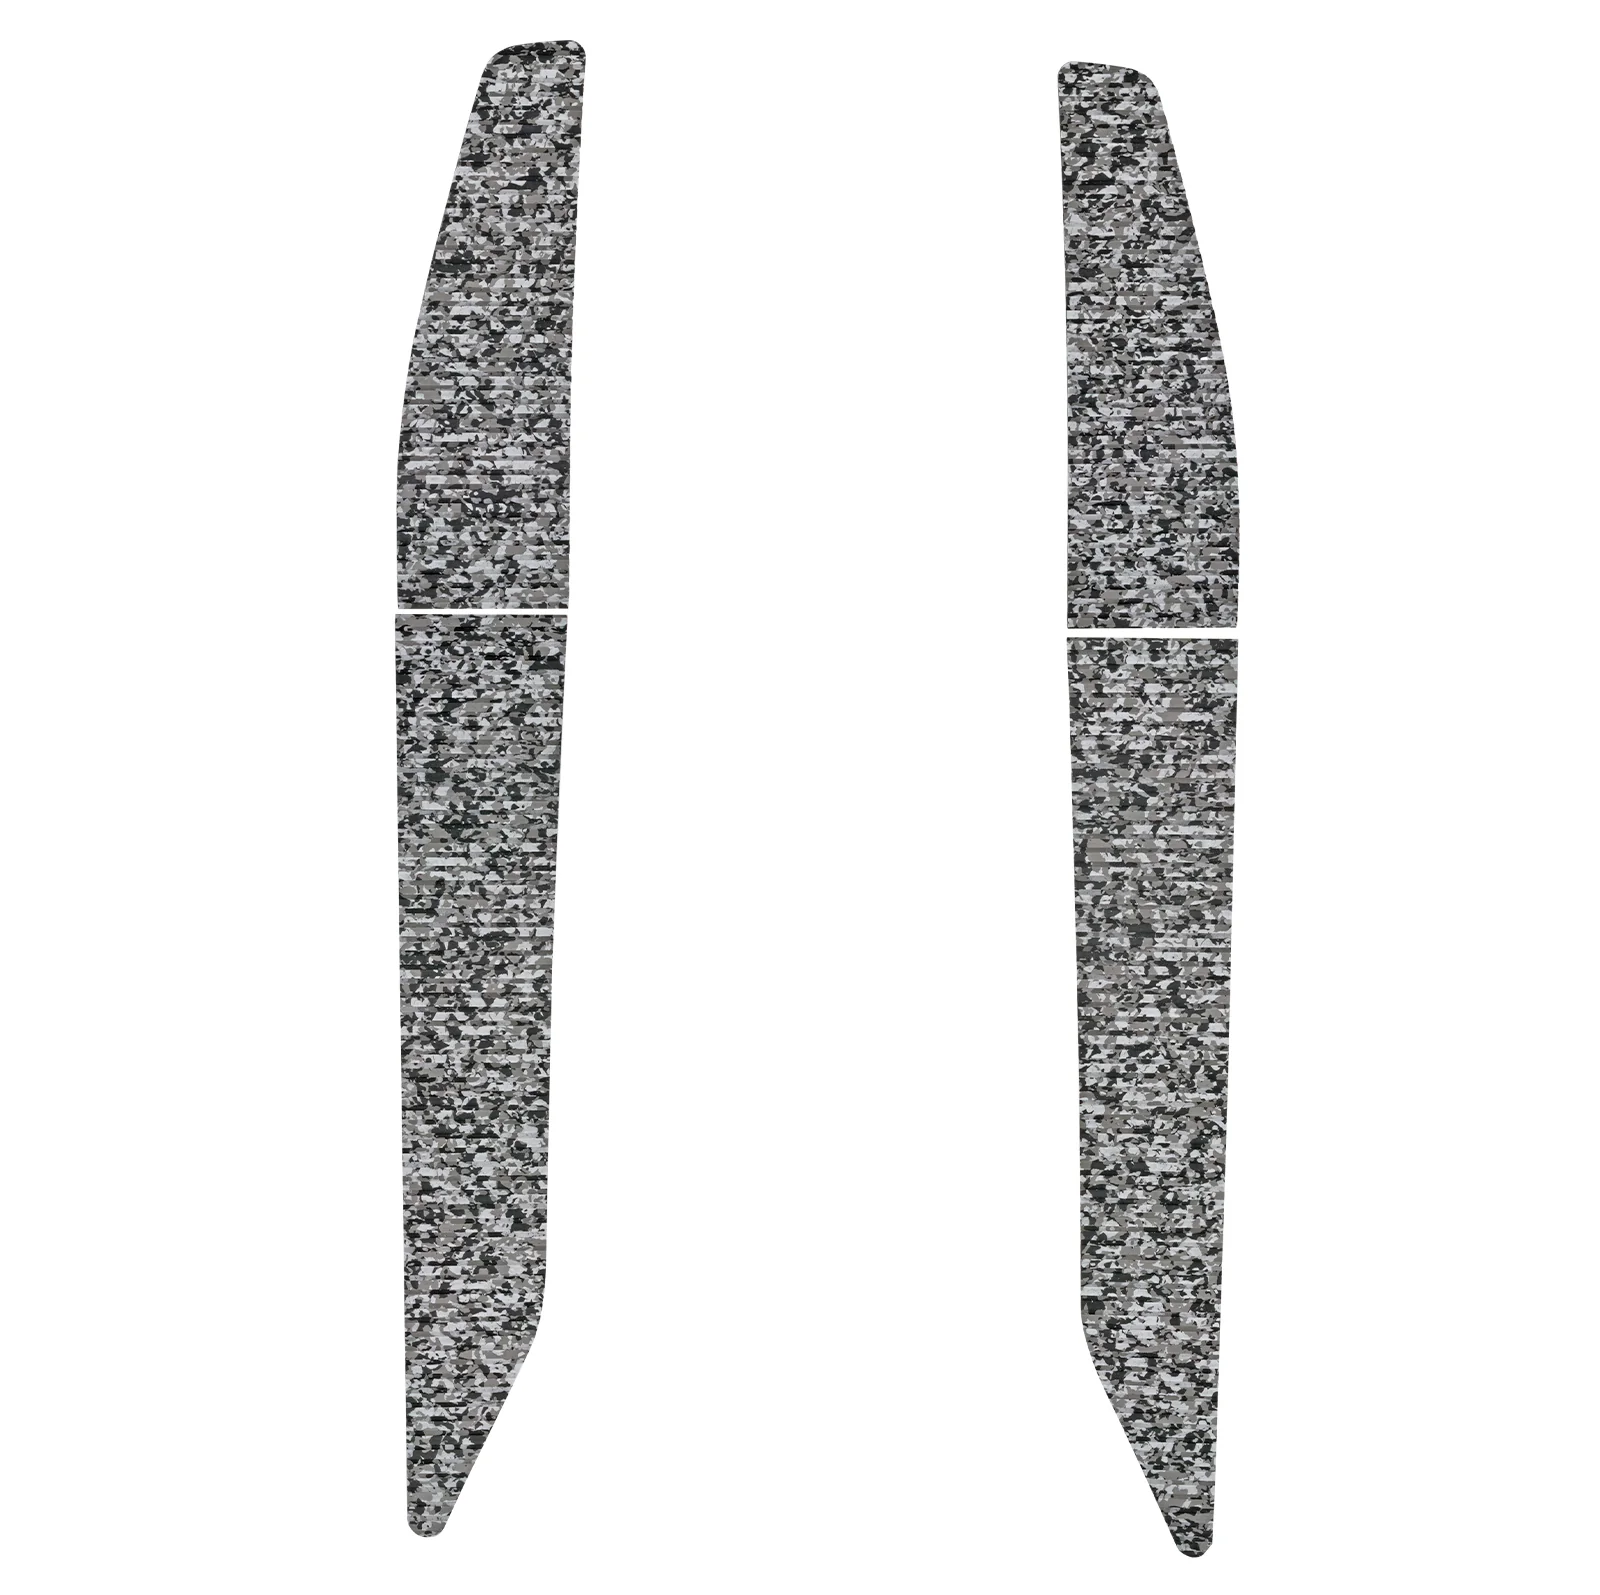
Traction Mats for Sea-Doo 2019-2022 GTX Ltd 300/Wake Pro 230
Details
All mat kits come standard with BlackTip Jetsports exclusive PSA (pressure sensitive adhesive) to make installation easy - without the big mess of having to glue them down. Simply peel the backing off - press the mats into place and they are ready to go. This is an easy afternoon job and makes a world of difference on how your ski looks.Colors may differ from monitor to monitor. To ensure you like the color of your traction mat kit you may want to request samples. Custom traction mat kits are non returnable.
Click here for traction mat samples
Applications
2019-2024 – vin plate top right of rear mat
2019 GTX Limited 230
2019 GTX Limited 300
2019 GTX 155
2019 GTX 230
2019 Wake Pro 230
2019 RXT 230
2020 GTX Limited 230
2020 GTX Limited 300
2020 GTX 170
2020 GTX 230
2020 Wake Pro 230
2021 GTX Limited 300
2021 GTX STD 130
2021 GTX STD 170
2021 GTX STD 230
2021 GTX STD 300
2021 GTX Pro 130 (rental)
2022 GTX LTD 300 3UP
2022 GTX STD 130 3UP RENTAL W/ IBR
2022 GTX STD 130 3UP RENTAL
2022 GTX Pro 130 (rental)
2022 GTX STD 170 3UP
2022 GTX STD 230 3UP
2022 GTX STD 300 3UP
2023 GTX Pro 130 (rental)
2023 GTX 170
2023 GTX 230
2023 GTX 300
2023 GTX Ltd 300
2024 GTX Pro 130 (rental)
2024 GTX 170
2024 GTX 230
2024 GTX 300
2024 GTX LTD 300
Installation
Removal of original riveted mats :Drill the heads off of the rivets holding down the original mats while pushing the remaining rivet into the hull. Fill the holes left by the rivet with 5min. epoxy, this can be purchased locally at any auto parts store. Make sure to scrape the epoxy flat in the foot wells so the new mats will lay flush. Clean the area that the new mats will be attached to with acetone solvent for proper adhesion.Removal of original glue down mats:By hand, peel off any old mat material that you are able to and then you use a putty knife to help remove all material from the difficult areas. Areas that are difficult may require spraying WD-40 brand lubricant in between the mat and hull to help loosen the old adhesive. Take your time on the prep work; this is important to achieve professional results.
Now that your surface is clean and ready for the new mats it is time to lay out how your mats will look in the foot wells. This is the location the mats will be attached. Trace around the mats using a pencil. This is your reference area to place the mats after the paper is peeled off the back of the mat.
Peel off the paper backing from the mat and line up one end of the mat to your traced out area. (Do Not Try to Install the complete mat in one shot) Slowly work the mat down into your outline.
After the entire mat is installed you must apply even pressure down on top of the mat to insure complete contact to the hull.
Let mats sit for 12 hrs after the install so the glue will fully cure.
Warranty
Watercraft Superstore's BlackTip Jetsports traction mats have a 1 year manufacturer's warranty against defect in material and workmanship. This warranty does not cover fading, tearing or stains due to user negligence. We do our best to make sure every traction mat set is perfect, but sometimes things happen.If you should have a problem, please contact Watercraft Superstore @866-957-9277 or [email protected] to identify your issue.
Cleaning
Use only mild dishwashing soap to clean your mats, if you must clean grease from the mats we suggest using Simple Green brand cleaner only to do so.Shipping
Custom orders will ship in 2-3 business days after order is received.Videos
Original: $119.95
-65%$119.95
$41.98Product Information
Product Information
Shipping & Returns
Shipping & Returns
Description
Details
All mat kits come standard with BlackTip Jetsports exclusive PSA (pressure sensitive adhesive) to make installation easy - without the big mess of having to glue them down. Simply peel the backing off - press the mats into place and they are ready to go. This is an easy afternoon job and makes a world of difference on how your ski looks.Colors may differ from monitor to monitor. To ensure you like the color of your traction mat kit you may want to request samples. Custom traction mat kits are non returnable.
Click here for traction mat samples
Applications
2019-2024 – vin plate top right of rear mat
2019 GTX Limited 230
2019 GTX Limited 300
2019 GTX 155
2019 GTX 230
2019 Wake Pro 230
2019 RXT 230
2020 GTX Limited 230
2020 GTX Limited 300
2020 GTX 170
2020 GTX 230
2020 Wake Pro 230
2021 GTX Limited 300
2021 GTX STD 130
2021 GTX STD 170
2021 GTX STD 230
2021 GTX STD 300
2021 GTX Pro 130 (rental)
2022 GTX LTD 300 3UP
2022 GTX STD 130 3UP RENTAL W/ IBR
2022 GTX STD 130 3UP RENTAL
2022 GTX Pro 130 (rental)
2022 GTX STD 170 3UP
2022 GTX STD 230 3UP
2022 GTX STD 300 3UP
2023 GTX Pro 130 (rental)
2023 GTX 170
2023 GTX 230
2023 GTX 300
2023 GTX Ltd 300
2024 GTX Pro 130 (rental)
2024 GTX 170
2024 GTX 230
2024 GTX 300
2024 GTX LTD 300
Installation
Removal of original riveted mats :Drill the heads off of the rivets holding down the original mats while pushing the remaining rivet into the hull. Fill the holes left by the rivet with 5min. epoxy, this can be purchased locally at any auto parts store. Make sure to scrape the epoxy flat in the foot wells so the new mats will lay flush. Clean the area that the new mats will be attached to with acetone solvent for proper adhesion.Removal of original glue down mats:By hand, peel off any old mat material that you are able to and then you use a putty knife to help remove all material from the difficult areas. Areas that are difficult may require spraying WD-40 brand lubricant in between the mat and hull to help loosen the old adhesive. Take your time on the prep work; this is important to achieve professional results.
Now that your surface is clean and ready for the new mats it is time to lay out how your mats will look in the foot wells. This is the location the mats will be attached. Trace around the mats using a pencil. This is your reference area to place the mats after the paper is peeled off the back of the mat.
Peel off the paper backing from the mat and line up one end of the mat to your traced out area. (Do Not Try to Install the complete mat in one shot) Slowly work the mat down into your outline.
After the entire mat is installed you must apply even pressure down on top of the mat to insure complete contact to the hull.
Let mats sit for 12 hrs after the install so the glue will fully cure.
Warranty
Watercraft Superstore's BlackTip Jetsports traction mats have a 1 year manufacturer's warranty against defect in material and workmanship. This warranty does not cover fading, tearing or stains due to user negligence. We do our best to make sure every traction mat set is perfect, but sometimes things happen.If you should have a problem, please contact Watercraft Superstore @866-957-9277 or [email protected] to identify your issue.